I will be painting uninstalled crown moldings tomorrow so they can be installed on Saturday/Sunday in the main living areas. They are already white, but we want them to match the ceiling white, so they'll get a coat. After that.....wood floors and carpet! After that, some narrow base moldings in the main area, art room and sewing room. The bedroom gets carpeting, so not needed there. After that, paint touch ups and a bunch of little things that can wait till I move in, but probably won't because I'll be busy packing anyway, while Jim does them ;)
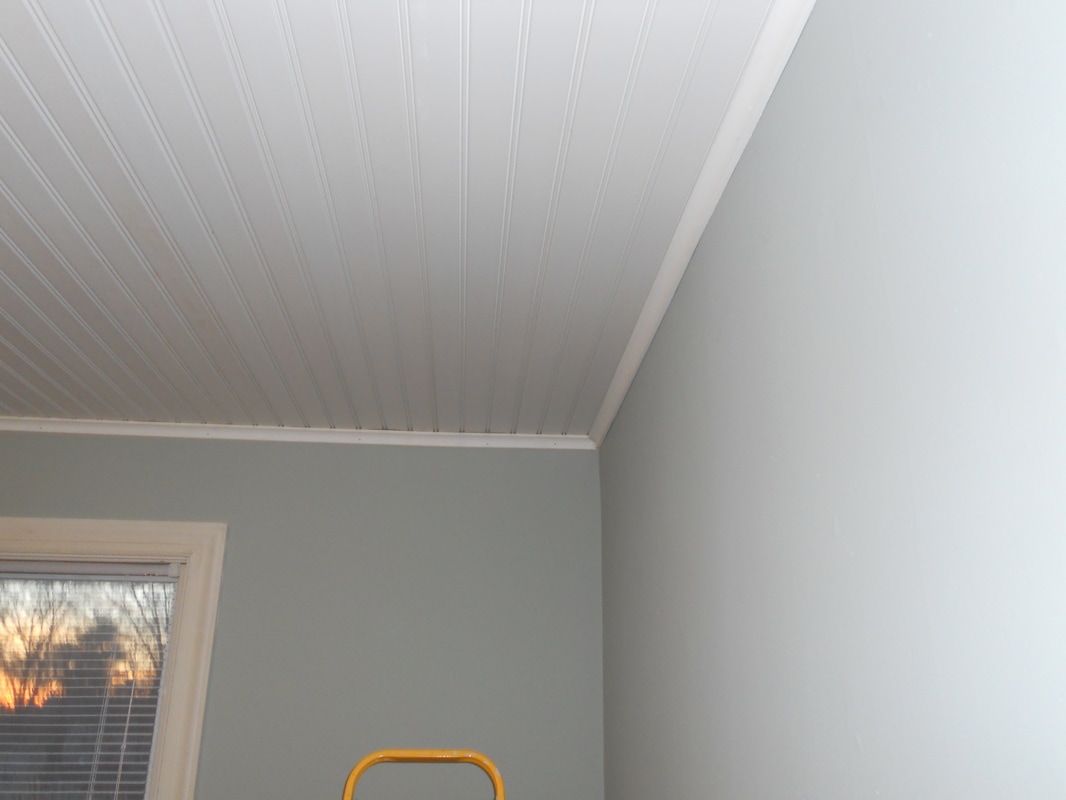
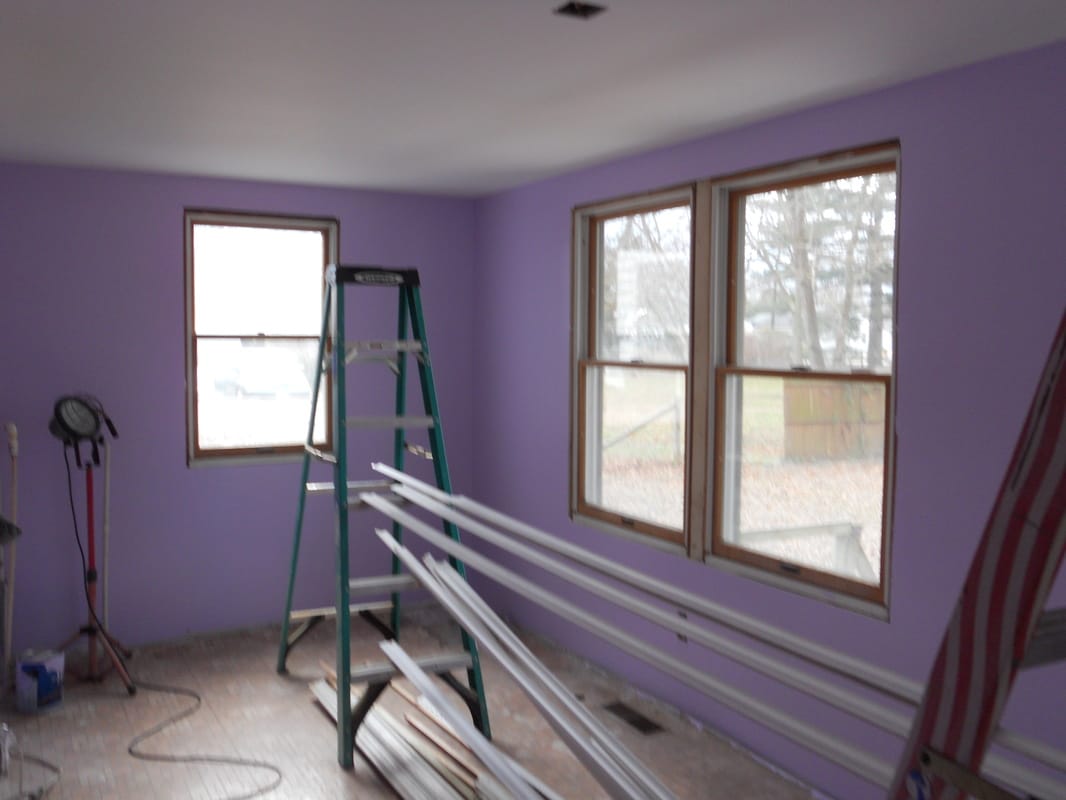
WE are moving right along! Jim and my SIL got the crown molding up in my art room and my bedroom and they look fantastic! Check 'em out! (My SIL is well over 6 ft. tall and can hold up the molding without climbing up a ladder, which is why we asked her to help. My knees just want to cry when I climb up and down a ladder for hours.) 
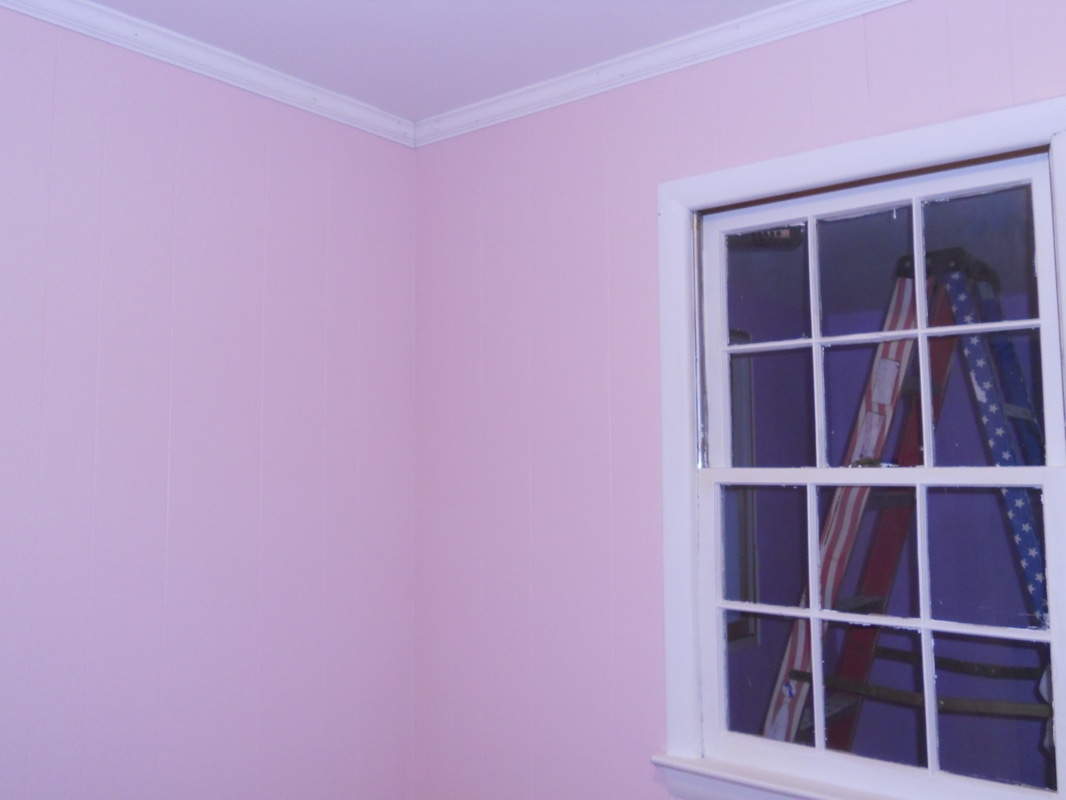
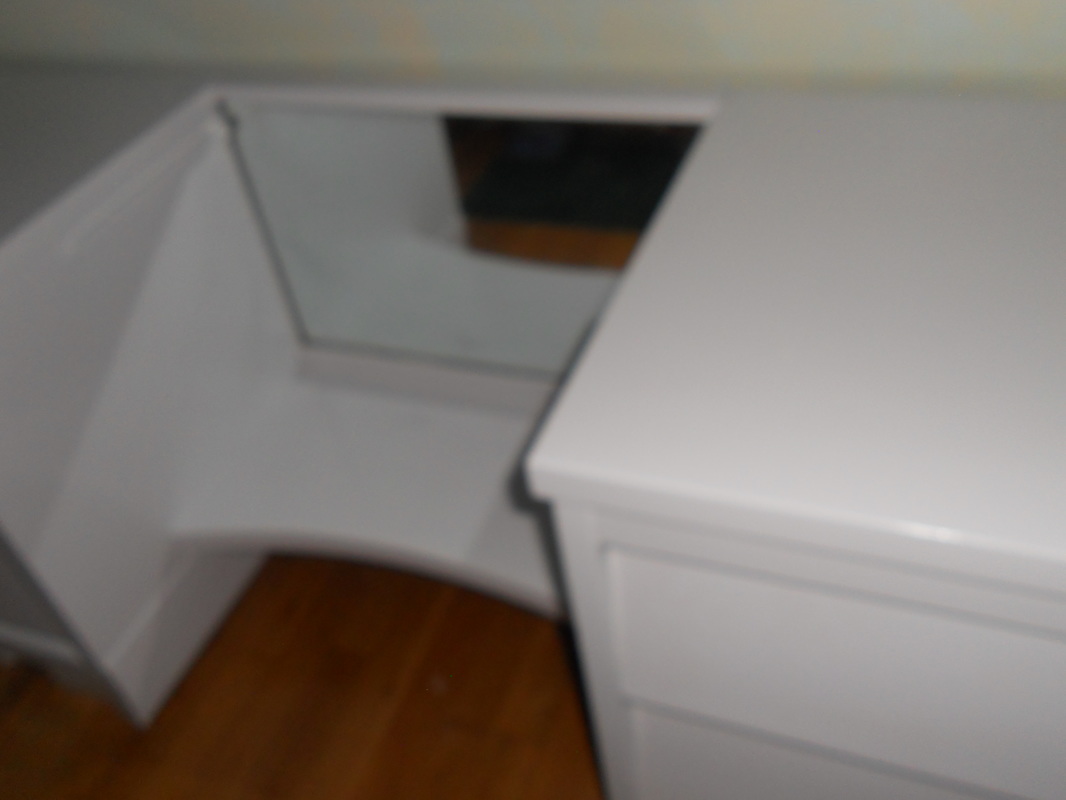
This pink room originally had a nondescript brown paneling with matching moldings and window trims. It's all pink and white now and will get new wood flooring and new white base molding. I can't wait to put my computer desk and all my art stuff in here! I will do something very creative with the window dressing. It got a new ceiling light and will also get new white outlets, as will the entire house. 
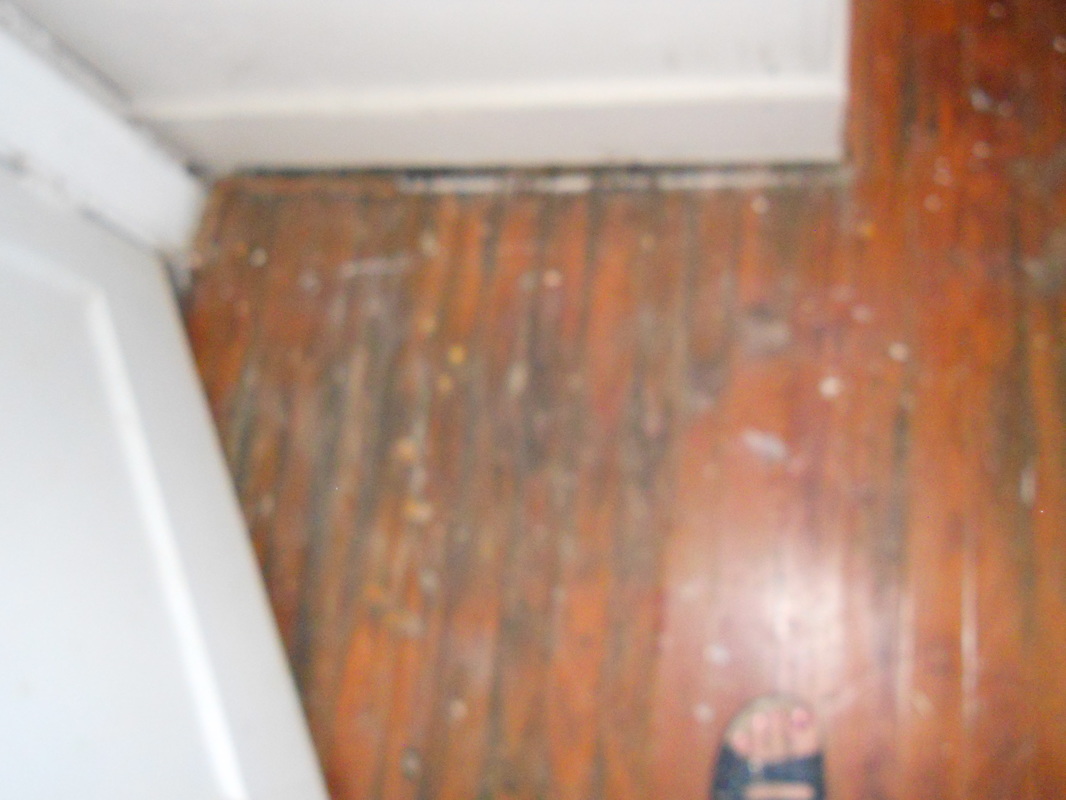
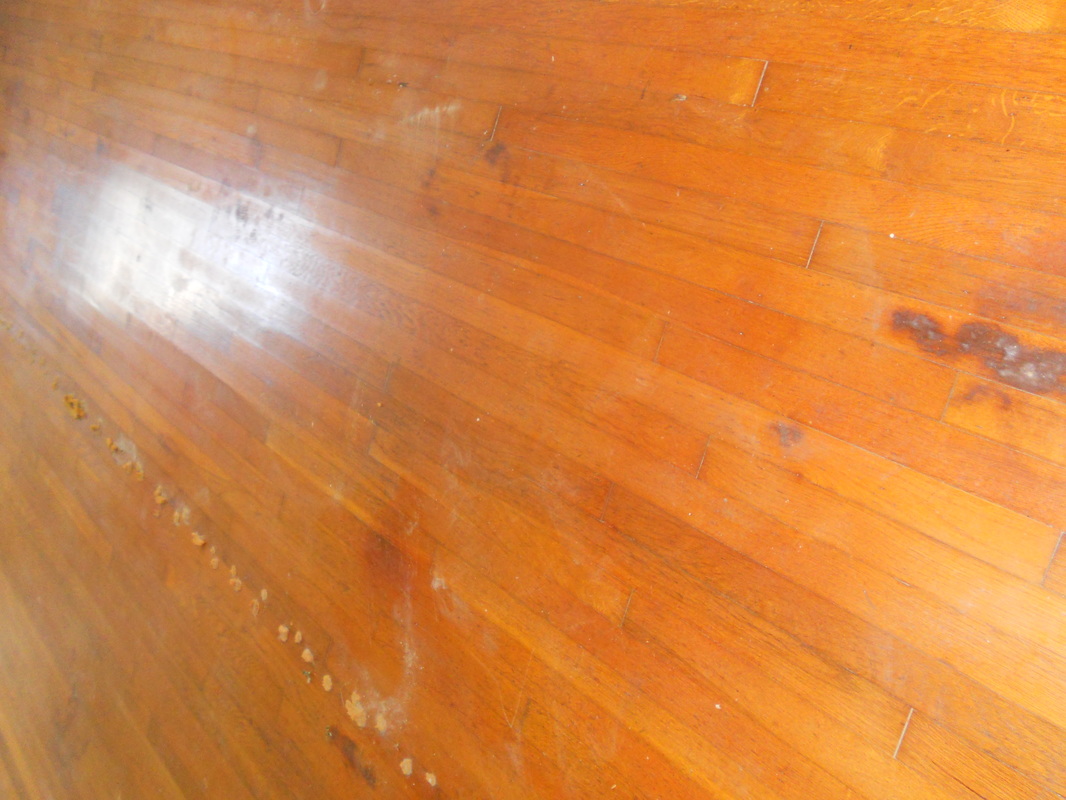
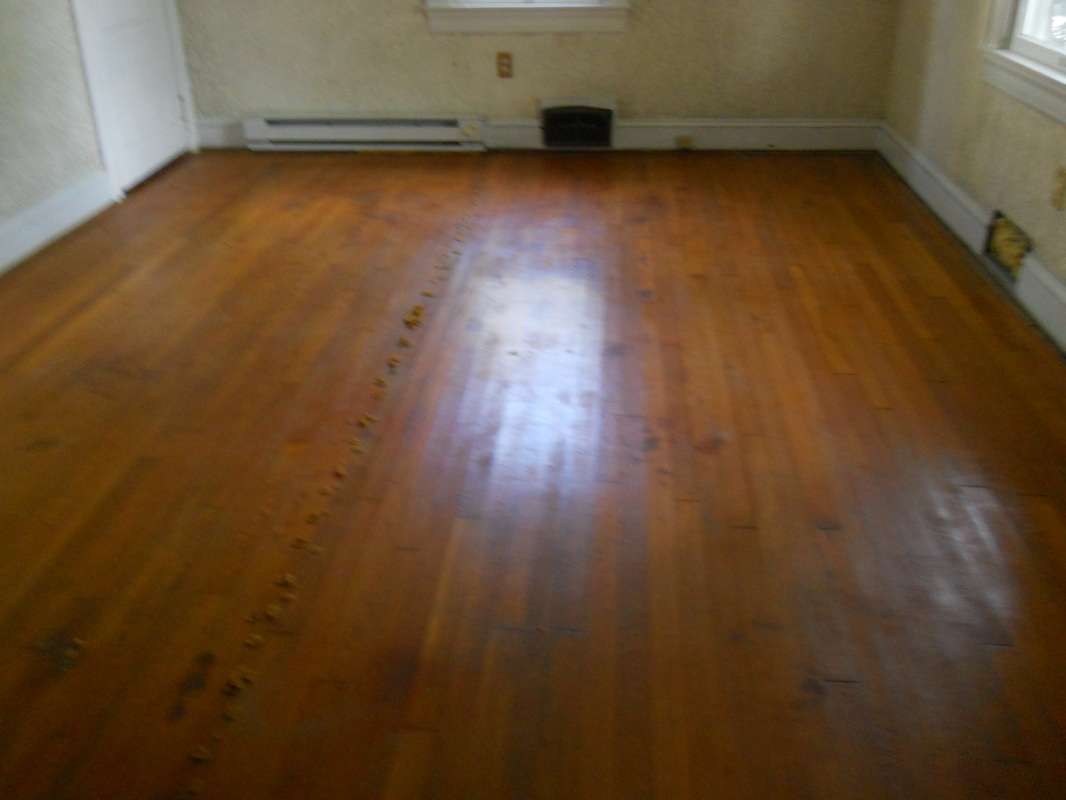
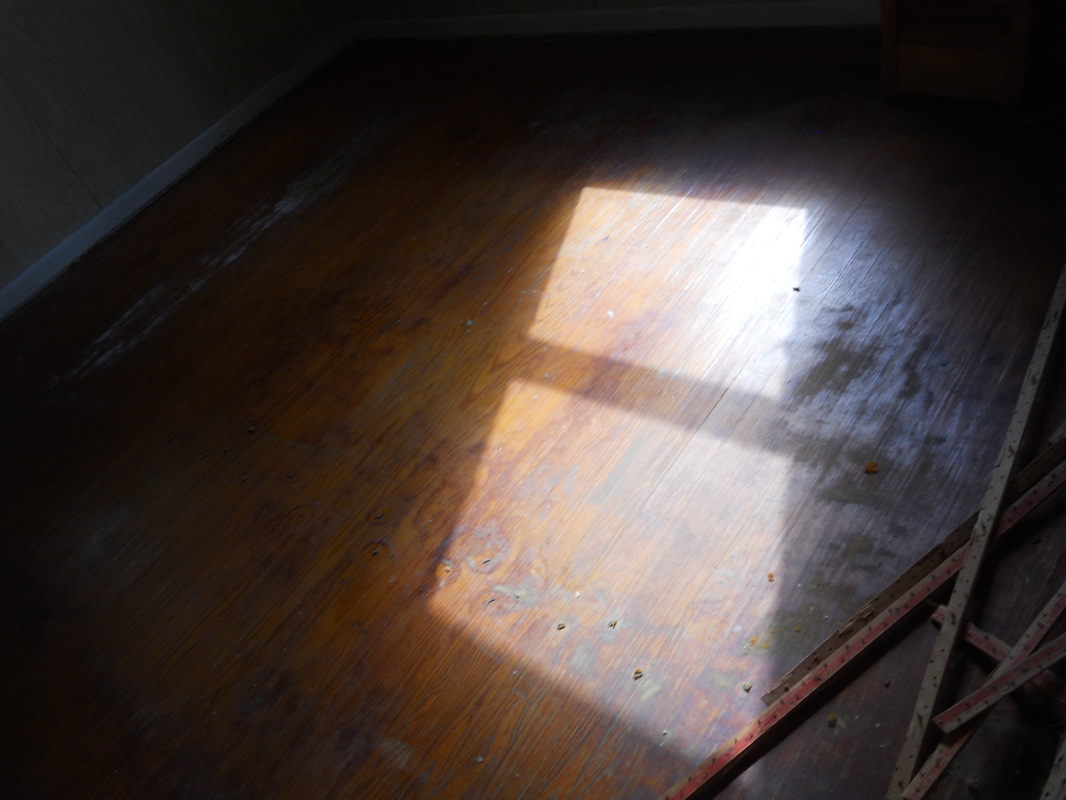
The sewing room is mostly done except for a light (going in Saturday) and some narrow white moldings to make the floor meet the colonial molding that's there. There was carpet in here before so you have to make up the difference. I'm thrilled with how this floor turned out. It was a lot of work, but not difficult work. Four coats of paint, because of the stains that wouldn't sand out. You aren't really seeing it here, but this floor has a high gloss on it, in spite of the fact that ONLY the top coat had gloss in it. I think the gloss will be easiest to sweep and to damp mop. I couldn't be more pleased with this project. Ask me again in six months to a year and we'll talk about wear and tear, but two coats of this were paint made for porches, patios and floors, so I'm hoping for some durability, with just a little care on my part. 
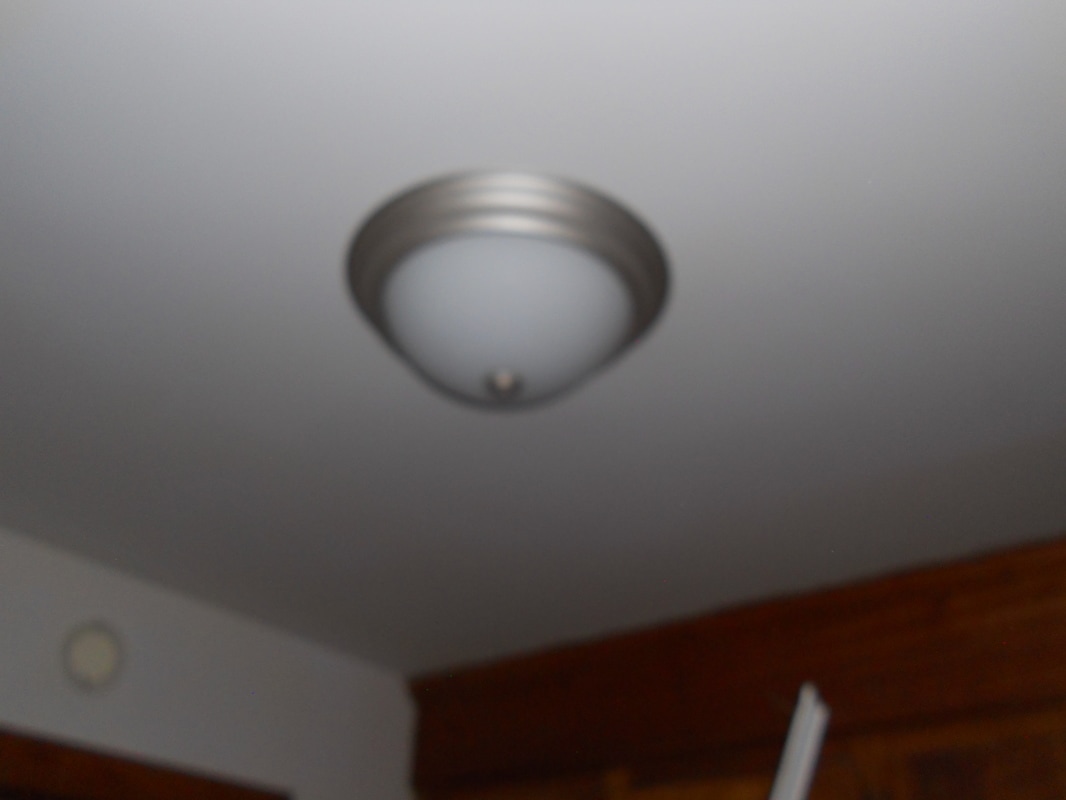
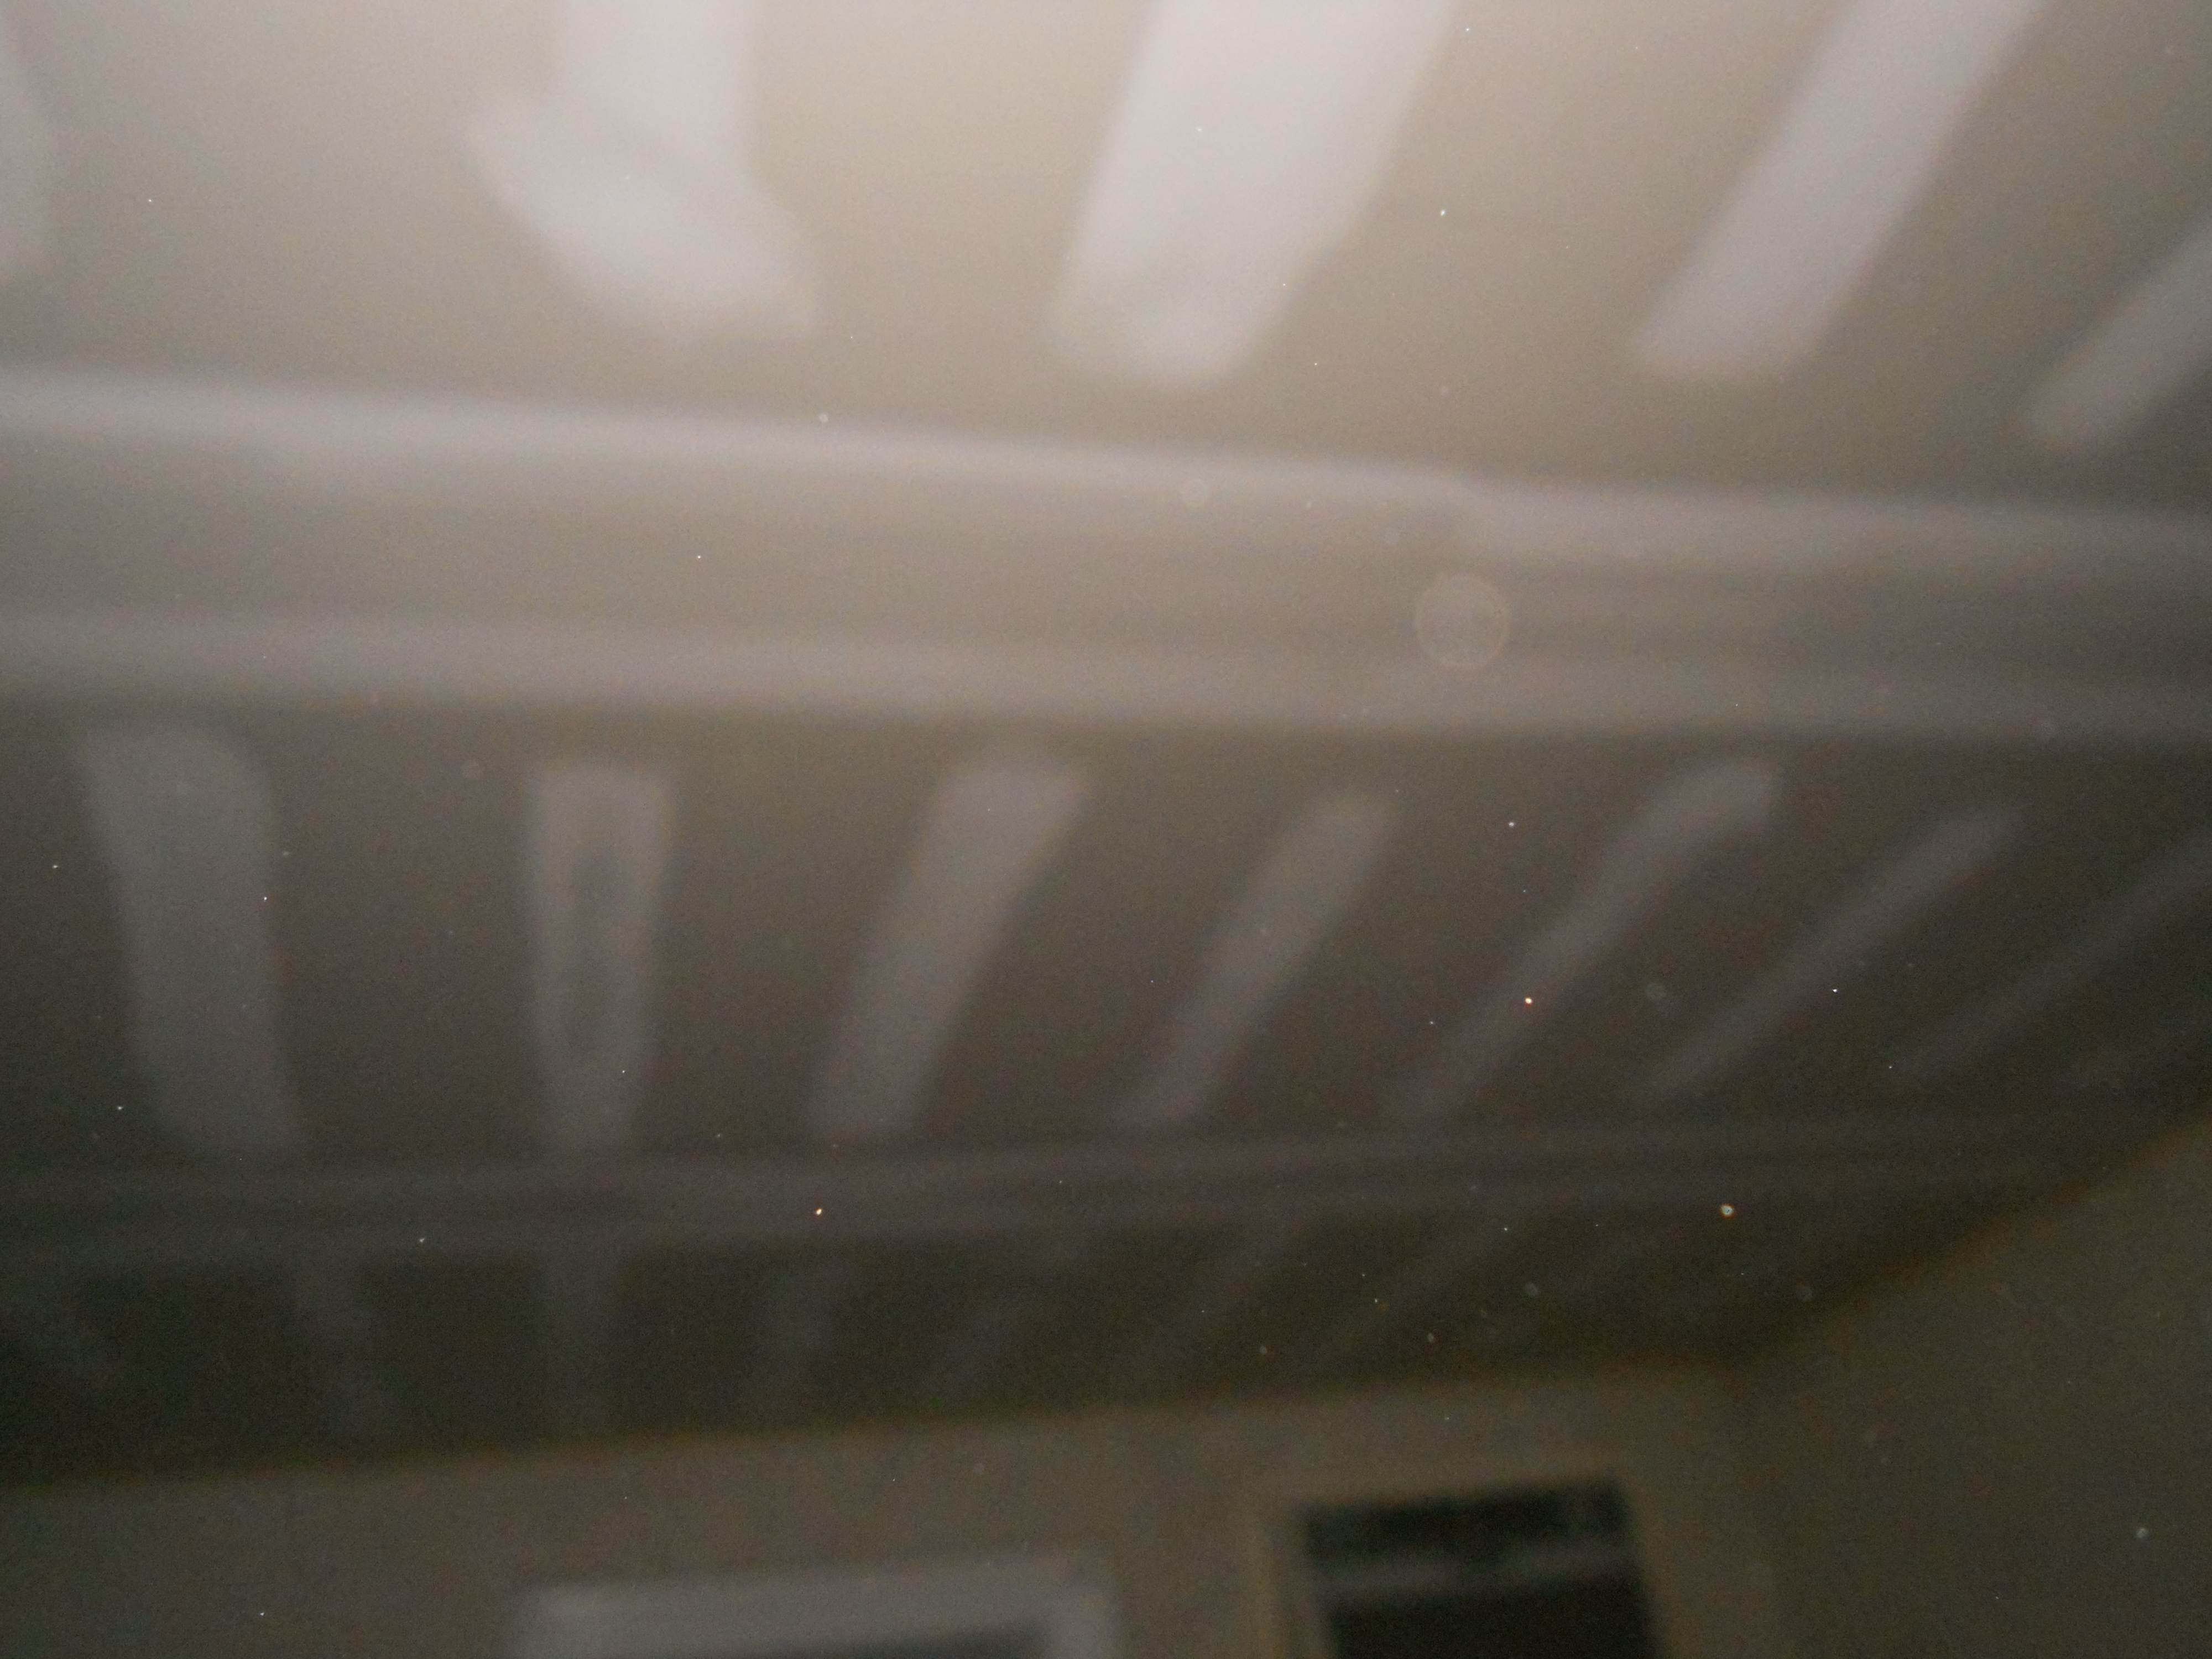
I ran the floor paint up and used it on those base moldings and the frame around the open closet. Thought it would be better than the paint I used for other base moldings and match the floor. Next photo shows the new ceiling fixture that we used throughout the bedroom, sewing room, art room and part of the kitchen. Fantastic LED lighting! We used a flush mount light with even more power in the main kitchen area and it's like daylight in there. What we had before was like a lightening bug....that is dying. :( We also have a new ceiling fan/light in the dining area and I will catch a photo next time. The hard part of putting in my hot water heater has been done, and Jim and my son should be finishing that this weekend. The gas line has been run under the house, the water line is under there, and the unit itself has been hung on the wall. The actual connections need to made, and hopefully, we'll be in business with hot water.
I will be painting uninstalled crown moldings tomorrow so they can be installed on Saturday/Sunday in the main living areas. They are already white, but we want them to match the ceiling white, so they'll get a coat. After that.....wood floors and carpet! After that, some narrow base moldings in the main area, art room and sewing room. The bedroom gets carpeting, so not needed there. After that, paint touch ups and a bunch of little things that can wait till I move in, but probably won't because I'll be busy packing anyway, while Jim does them ;)
0 Comments
We've been so busy! Jim and our neighbor got 5 new light fixtures in the house this weekend and now we can see! Just one more bedroom ceiling light and a ceiling fan/light fixture to go. Probably the day after Christmas for that. I've been painting, painting and painting. First photo is in the sewing room. There was obviously a closet here, but we removed the doors so I can use the wall space. There is a shelf and hanging pole that go back in here. All the dirty white woodwork will eventually be painted fresh, shiny white. Maybe before I move in, but maybe not. Yes, I did paint the closet areas yellow and the rest of the walls pink. :) You also get a sneak peak at the white painted floor here, but it still needs another coat. It's already got three, but I really have rather enjoyed the process, so it's all good. Definitely will share more photos when it's done. So far, I have no regrets about this floor paint thing, but will reserve judgment for a good six months. We'll see how it stands up to wear and tear. Next, a quick look at the paint in the future utility room. This room has had so much work, but still needs a lot and won't be done till spring, but I do love the color on the wall. It was called "Sassy Lilac" and it just makes me smile. The windows will be painted white and will have new white trim all around. The floor (sheet vinyl) has been chosen, but will probably wait till spring, as well. The floor is going to be a design that looks like pale shades of slate....mostly in the grey-to-beige group. Very neutral. I think it will probably go in the kitchen, as well, when the time comes. This room will have the washer and dryer, of course, but I intend to grow micro greens in here and maybe do some "worm composting." :) It gets sun nearly all day--there is one more window on the side wall not shown here. All the strips of white wood showing here will be going back up as crown molding and such. All of it is getting a good coat of paint first. Not shown in this photo is the new 4 foot light fixture Jim just put up late this afternoon. Lots of light at night!
Tomorrow, I'm painting windows and door casings with primer in the hobby room. It's the only room that had finished windows and I was going to leave it, but it just doesn't look right with all the other white woodwork and the pink walls in there. AND you can see it from the front door entrance. I will be doing that and then back to the sewing room to prime that nasty woodwork. Probably won't get to the final coat on the floor till Tues. or Wed. Today I put a 2nd coat on my yellow sewing room closet. The walls are pink and it is so lovely! I sanded all the paint drips off the already sanded floor and now it is ready to paint white. I tried a couple of sections last week to make sure the sanding I'd done was adequate for the paint to really stick and I'm pleased with it. I walked on it and tried scratching it with a chair and nothing seemed to effect it so, yay! Family holiday dinner is tomorrow, so I have no plans to get back to work on it till Sunday.
Jim picked up the flooring today, too. He has a number of other things to do (moldings, replace some lighting fixtures, repair a window sill, etc.) and he and my son will begin on my hot water heater installation tomorrow. It won't be done till Scott returns from a short vacation, but time is zooming by. I will definitely not be spending Christmas at the new house, but that's okay. I will, however, probably be nose-high in packing boxes and such. I am guessing that moving will happen very early in Jan. Sorry for no photos this time; I've missplaced my camera charger and the battery is dead. It will turn up soon and I'll catch up, I promise! I am so tired and everything on me aches, but I painted a room pink today! It needs another coat, so no photos of that yet. It was dark paneling and we gave it a coat of primer and then light pink with more primer in it and it still needs more, I think. I'm definiitely going to switch to a roller with a long pole because climbing up and down the ladder is killing me! The professional painters got color in the living room, dining room and my bedroom and I'm so in love with the colors I picked. No remorse here. My camera and the available light is just not capturing this accurately, but here goes anyway. This is Sherwin Williams' "Sea Salt," which is actually a light grey with blue and green tones. It totally changes throughout the day as the light changes. Morning into afternoon it is grey with blue. As the sun goes down it turns into mostly green, which is nice because it warms up the room. Amazing color! This photo shows my new front door, as well. Still need to get the baseboards painted, put up crown molding and new flooring in here. This photo doesn't show the textured walls under there, but they are still textured. More noticeable in bright sunlight and at an angle. The last two photos show the Sherwin Williams color "Silvermist" in my bedroom. Again, these are poor photos, but this color is gorgeous and perfect for me. It is blue with grey in the a.m., turning more toward grey with some blue in the afternoon, and then, at night, it's just a rich grey. You really need to put a sample on your wall of both of these colors if you are trying to coordinate with blues, greens or other greys. They change according to light and the colors near them, so check them out in your own situation, but I'm in love with them both! This room gets baseboards painted and carpet installed, as well as crown molding.
Oh! I forgot! Jim and my neighbor installed an unusual ceiling for me in here, and I'll have to catch a photo once the molding is put around it.. It is vinyl soffit material, normally used outside, but we've used it as beadboard on the ceiling. It looks fantastic and covers an ugly acoustical tile. Jim and I will be back working on things tomorrow--me painting- not sure what he has planned. I have another coat to do on my hobby room and all the walls to do in the sewing room, plus the floor. He also wants me to paint some moldings that we are repurposing, so I have to squeeze that in somewhere very soon. Painters will be back on Monday to do all the baseboards, all the ceiling white and my sunroom/utility room, which will have violet walls!! Woo hoo!! I haven't had a purple room since I was about 6 years old :) Our painter is busily painting at my house, though he was supposed to have a helper. He says he will this afternoon, so I'm hoping things will speed up, but for sure, they won't be done today....so sometime next week. Here is a close up photo of the living room wall with just fresh primer on it. This is the textured wall that was so dingy before. I was really afraid that I wasn't going to like these textured walls when they were painted, but I feel a lot better now. This isn't going to stay white, though; it will be soft, aqua/blue/greenish to show off my white sofa and rug. I'm sure the painting will be done by Monday or Tuesday (we added some things to the original contract, which was supposed to be done today.)
I can't wait to see color on my walls!!!! Right now a lot of my house looks like this because we have replaced some walls and ceilings with new wallboard. So if you've never seen walls before they're painted, there ya go! Now you have. Painters are coming Wednesday morning and expect to be done by week's end. They will prime nearly the entire house, except the bathroom, and will then do finish ceiling white on most of the ceilings, glossy white on the baseboards and a finish color on the main living area. I will then have to finish paint two bedrooms and my computer/art room. I also have a floor to paint and I just finished sanding that today, so it's ready to paint when the walls and ceilings are finished in there. The large sunroom/utility area and the kitchen won't be finish painted till spring probably, along with all the doors, door trims and window trims.
I'm so excited to be reaching this point, finally! My son can install my new water heater as soon as the utility room is prime painted, so we'll soon have hot water. After the painting is done in the main living area, my husband will be putting in the new floor in that area and there will be some final details to finish up, but not much. I hope to have photos of the finished living area for you in a week or so and also of the last two furniture items that I painted. I have a headboard to paint and the main dining table, but if they're not finished when I'm ready to move, I'll put them in the utility area and finish them up there, so nothing will hold me up. See you back here soon with photos! Just in case you are not on my private FB chat list for this topic, we decided to go with new prefinished hardwood floors that will start at the front door and run straight through the dining room and bonus room. We are running this opposite of the way the current floor runs, so it will have a really long look and make the entry way more impressive, I think. I do not have a photo of the exact floor we bought, but it's called Walnut Oak. It really isn't dark, though; the darkest parts are about medium and it has a lot of much lighter variations, so the overall look will be medium-to-light. We are putting carpet in my bedroom and the sewing room floor will be painted white. That's a new adventure for me, so we'll see how it goes.
We decided to replace the ceilings that have sagging tiles, rather than fix them and wait for more of them to sag (3 rooms.) So all of that will be regular wallboard (that project is starting today) as well as the redo of the sun porch-to-be-utility room.) We have professionals working on this as I speak, so I'm hoping it will be done by week's end. In my bedroom, where there was mold on the ceiling tiles, my generous neighbor is donating (!) some "plastic bead board" strips that he has leftover and his time to help put them up. I love bead board and these will go up fast, as they are one foot wide and 12 feet long. Once they're up, they're done...no painting. That will really look nice and be a little more interesting to look at in my very light room with shiny white modern furniture. I have finished all the chair painting and totally completed two "barrel chairs." The other chairs still need cushions replaced with new fabric before I photo them, so maybe next week?? Anyway, these two chairs were found while dumpster diving. They were not literally IN the dumpster, but they were beside it. A local motel was replacing a bunch of their stuff and set a slew of furniture out by their dumpster for free picking. I took these two chairs and a desk I will show you a bit later on (it's in the process of being repainted, also.) The first two photos show the chair with only some sanding done and a test patch of paint that is primer and paint all in one. Love this stuff! If you don't need to block a stain on your wood, feel confident that Behr's Primer and Paint works fantastically well for this! This is semi-gloss, of course. The next photo shows a coat of paint on the wood and how I had to use tape to block off the fabric. I think it took longer to tape it than to paint it with one coat. This paint is a soft, pale grey. Hard to tell it's not white unless you put it next to a real white. Two coats gave total coverage. Final photos show the finished project. I painted the fabric (I had to tape off the wood this time.) This fabric was stiff and very textured, so the paint made it even stiffer and rather scratchy, but I sanded the finished paint (two coats) before putting on the wax coating that will help soften and protect it. I didn't get any sheen because the texture was so rough, but I still think the wax is necessary with "chalk paint," which is the type I used for the fabric. I'm not going to share all the details of the technique here because they are available dozens of places online. Nothing difficult here, but the taping was time consuming. The color on the cushions is Deco Art's Chalk Paint "Retro Vintage," which is a soft grey/blue/green. Very similar to Annie Sloan's "Duck Egg." I can't afford A.S. paint and there is no retailer for it locally. So, with that project finished, and only the fabric to staple on to four chair cushions, a desk I've almost finished painting and a bench seat that is also painted and needs to be reassembled....whew!.....I'm making great progress. I still have a lot to do here, and will soon have a ton of painting to do at the house. Busy, busy, busy. I have a coffee table to redo, a headboard and a huge table with ornate base. I try not to look at the whole list too often ;) It's overwhelming. One thing at a time and look at what I've already done!
We uncovered the hardwood floors last weekend and they are a mess. Here's a sampling for your viewing displeasure. So we have received an estimate to sand and refinish the floors (5 rooms) with a breakdown per room. We will be mulling it over for a few days and checking out some prices on carpet and/or pre-finished hardwoods, which Jim would install himself. The problem with refinishing is that we have no guarantees he can get all the stains sanded out, and we pay the fee no matter what, which means that even if the floor doesn't look as nice as we want it to, we've paid for it. Plus, we have to wait for it to cure before moving in. We might be able to get the hardwoods at about the same price (with Jim installing) and they would look wonderful and be done and read to move in. But that is a lot of work for hubby, who works hard all week already. We might find a deal on some carpet, as well, so we may do a combination of things. A lot to think about. My head is spinning!
At least I can update you on some of the furniture projects I've completed, though I still have plenty more to go. The first thing we did was my mother's bedroom furniture. Originally, these mid-century modern pieces were deeply stained mahogany and my mom kept them highly polished. Sometime in the 60's my dad "antiqued" them using a kit with paint and glaze. I was not impressed, but as they aged, they really got ugly. My daughter's dresser we stripped and just polyurethaned some years back. My son is using the small dresser and I doubt he's done anything with it. The pieces I still have are now sanded, primed and painted with a high gloss white, trying to take these into the realm of 1930's Hollywood glam.......close, anyway. I have a vanity, bench, mirror and nightstand. They are pictured here sanded and ready to paint. I hand painted the primer, but the high gloss enamel paint for the top coat was extremely thick and just too hard to use during the high heat weather we were having so we resorted to canned spray paint. I should say my husband resorted to it, because he is SO much better with a spray can than I am! He did a great job! Sorry for the poor quality of these photos. Lighting was awful and then there is the awful photographer (wink). These came out smooth and shiny, which is what I wanted. I will post the bench photo a bit later on. The legs were painted, but it needs a new fabric cover. I'm still debating with myself on the fabric. The next project was a tall, but small table. Wooden legs and a square top covered with denim, of all things! And badly stained! I sanded the legs and used a grey chalk paint followed by a clear poly. It took several coats of everything, including white chalk paint on the fabric top. The chalk paint worked very well for the top (rolled on) and I really covered it with about 6 coats of poly. It was my first use of chalk paint and I'm not impressed. I don't care for the brush marks and I'm not one that wants to have to re-wax furniture every few months, so poly is my only other choice for top coating and my skill with that is sketchy. Or maybe it was just the weather???? Anyhow, I love the little table! I found this little "t.v. tray table" in the thrift store. It is a lot thicker and more substantial than the ones I usually see in Walmart, so I bought it for $5. I could have left it like it was, but I wanted some grey in it so I worked on it. Sanded the legs and top and sprayed the legs with grey chalk paint in a can. It took all of one can to cover these legs well, so not very economical, but certainly easy. Then I brushed on poly over that. I wanted to accent the grain lines of the top because it's so pretty, so after sanding it down to the raw wood, I rubbed on a "driftwood" stain and put several clear coats of poly over that. I love it! The first photo shows it sanded and ready to paint/stain. The next is the finished piece. MUCH more to come! I have nearly finished six chairs and will post those as soon as they are done. |
Archives
October 2016
Categories
All
|